
Steel Framing & Plywood Lining a Max Security 8ft Shipping Container | The Container Guy
Steel Framing & Plywood Lining a Max Security 8ft Shipping Container | The Container Guy
Follow along in this video as we attempt to modify this specialized 8-foot shipping container into a max security unit! We are not sure exactly what the customer is using this sea can for, but we know they wanted it to be impenetrable and have as much interior room as possible.
In order to fulfill their request, we will be removing the window and bars and then welding in some corrugations in its place. We will also be replacing the access door with the customer's non-removable hinge door and Mortise handle.
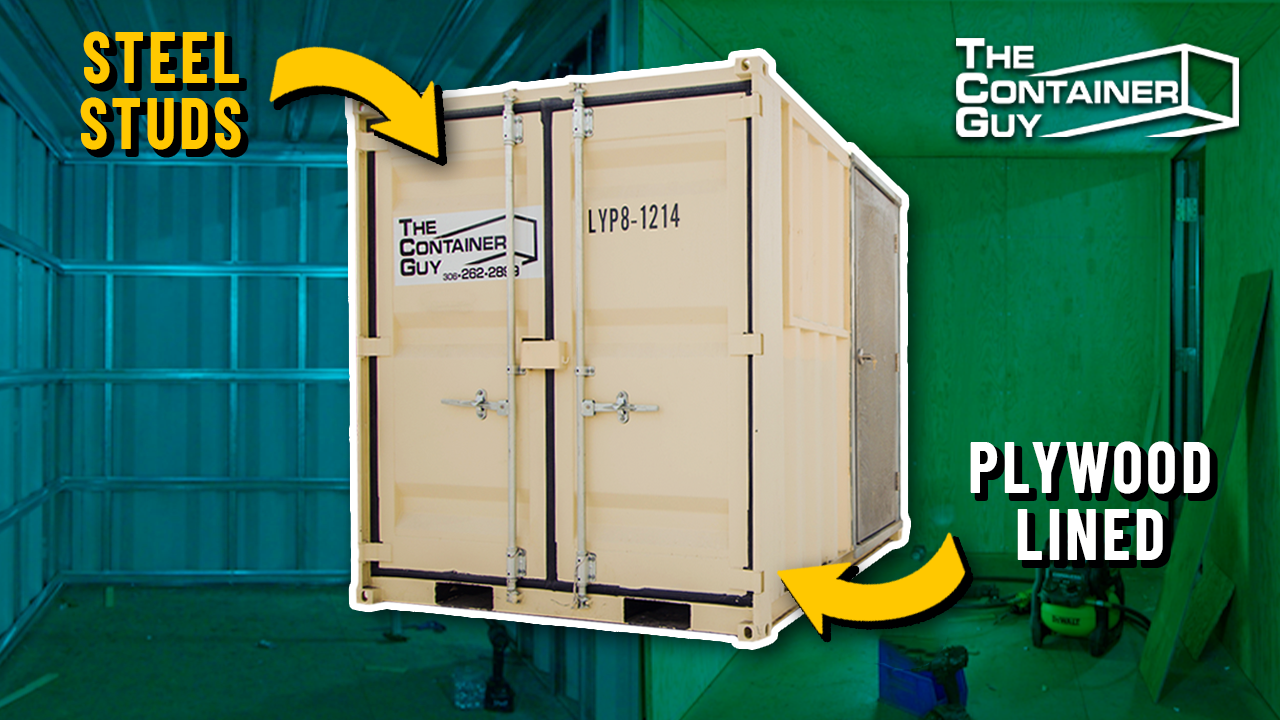
Next, we will be framing the conex box with steel studs and then lining the inside with plywood. They want us to save as much room as possible inside the can, so we have elected to glue the steel studs to the wall. We are not sure how this will turn out, so watch this video to find out how we do it!
Note: We are doing a lot of new techniques for modifying a container in this video, such as welding the door frame together, welding the frame onto the container, and gluing the steel studs to the outside corrugations. These are not the ideal way of modifying a sea container, especially not for a container home, but it was still a lot of fun figuring out how to save as much room as possible in this 8-ft container and fulfill all of our customer's requests.
Purchase Container Modification World Products Featured in The Video
Converting an 8-Foot Shipping Container into a High-Security Indoor MAC Unit
In this walkthrough, Channing McCorriston, The Container Guy, documents the transformation of a specialty 8-foot shipping container into a high-security MAC unit designed for indoor installation within an existing building.
This project was both experimental and detail-driven, requiring structural reinforcement, interior straightening, and a fully customized door system to meet evolving customer requirements.
Starting Point and Scope Changes
The container originated from China and came pre-modified with a window and an access door. Shortly before work began, the customer requested the window be removed and the opening filled with corrugated steel to match the existing profile.
The original access door was also removed and replaced with a fully welded dual swinger door frame. A North American insulated steel door slab was temporarily installed until the customer-supplied mortised hardware door arrived.
Because the rough opening was tight, hinge screws and rivets had to be modified to achieve proper fit and alignment.
Straightening and Reinforcing the Structure
Like many small specialty containers, this unit had noticeable warping from manufacturing. To correct this, the team notched sections of the door frame, capped square tubing, and reinforced areas to bring the structure back into alignment.
All welded areas had paint ground off and were treated with a zinc-rich galvanizing compound to prevent future rust. This step is critical anytime factory coatings are removed.
The result was a straightened and structurally sound frame ready for interior finishing.
Slim Interior Framing Without Penetrating the Roof
Because the container will be installed inside a climate-controlled building and will not be insulated or heated, the framing system could remain minimal.
The team used 2 ½ inch and 1 5/8 inch steel studs glued directly to the corrugations to create a slim wall assembly. Instead of drilling through the roof, hat channels were glued to the roof corrugations to provide mounting points for plywood.
This glue-based method preserves the container envelope and avoids unnecessary penetrations. Due to bowing in the container walls, horizontal hat channels were added to even out surfaces and create a flat plane for the interior finish.
While somewhat experimental, this approach maximized interior space and proved effective in a confined environment.
Plywood Finish and Trim Details
The interior was lined with plywood to create a durable and flexible finish. Hardwood concrete form chamfer trim was installed at corners and seams to produce a clean appearance and protect edges.
Previous builds had relied on caulking seams, but that method led to cracking over time. Using trim instead provides a longer-lasting and more professional result.
Per customer request, certain doors were welded shut and carefully painted to blend with the original container coating.
Final Door Installation and Adjustments
The final door frame was equipped with a bulb seal and self-closing device. To ensure proper clearance over the bulb seal, the door slab was lowered slightly below standard installation height.
These minor adjustments prevented hardware conflicts and ensured smooth operation.
The plywood interior leaves full flexibility for electricians to install wiring once the container is delivered and placed inside its building.
Lessons from the Build
This project highlights several key takeaways:
-
Warped containers require structural correction before finishing
-
Welding must be followed by proper corrosion protection
-
Glue and hat channel systems can reduce drilling and preserve the container shell
-
Slim steel stud framing is effective when insulation is not required
-
Trim work significantly improves durability and appearance
-
Door installations often require on-site adjustments for perfect fit
Final Outcome
After reinforcement, framing, finishing, and final adjustments, the 8-foot container met all customer requirements. The interior is flush and durable, the structure is straightened, and the door system is secure and properly sealed.
This project demonstrates how even a small specialty container can be transformed into a secure indoor unit with careful planning and creative problem solving.
When working within tight dimensions and imperfect factory builds, precision and adaptability make all the difference.